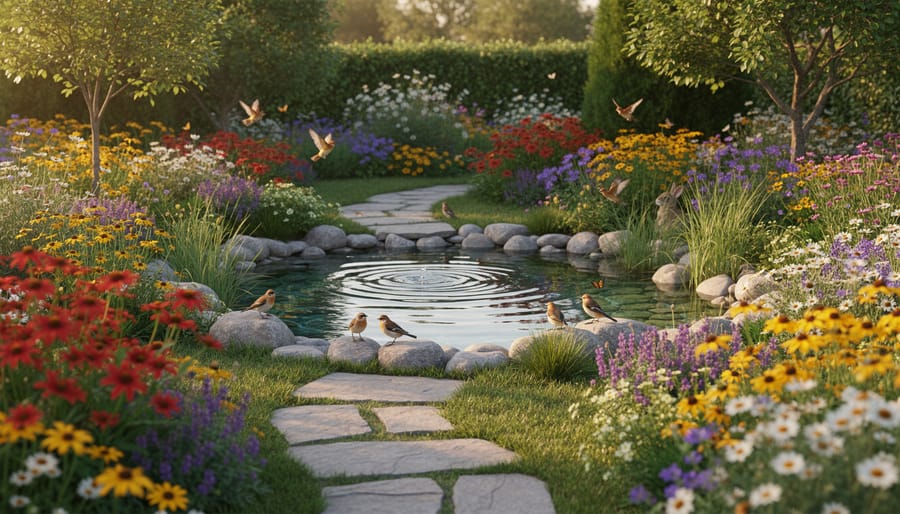
Creating a wildlife friendly garden transforms your outdoor space into a thriving habitat for birds, pollinators, and beneficial insects in as little as one growing season. The approach is straightforward: replace non-native ornamentals with regional native plants, eliminate pesticides, provide clean water sources, and leave some areas intentionally untidy for shelter and nesting. You don’t need acres of land or specialized training. A balcony container garden or small urban plot can support local biodiversity just as effectively as a sprawling yard when you choose the right plants and features.
The difference you’ll notice is immediate and rewarding. Sarah Mitchell, a community gardener in Bristol, saw her first hedgehog within three weeks of adding a log pile and native wildflowers to her compact courtyard. Local wildlife desperately needs these refuge spaces as urbanization fragments their natural habitats. When you design with nature in mind, you’re creating corridors that connect isolated populations and provide essential resources like nectar, seeds, and safe breeding sites.
This guide walks you through each decision, from selecting your first native plants to verifying that wildlife is actually using your garden. Whether you’re starting fresh or adapting an existing landscape, you’ll have a clear roadmap that works with your available time, budget, and space.
What You’ll Need to Get Started
You can create a thriving wildlife friendly garden with items you likely already own plus a few strategic additions. The good news: you don’t need specialized equipment or a large budget to get started.
Your essential toolkit includes basic hand tools you probably have in your shed: a spade or garden fork for planting, pruning shears for maintaining plants, a watering can or hose, and gardening gloves. A wheelbarrow helps move materials, but a sturdy bucket works fine for smaller spaces. If you plan to install water features or build habitat structures, add a level and basic carpentry tools like a hammer and saw to your list.
The most important investment is native plants suited to your region. Contact your local extension office or native plant society for specific recommendations, but most wildlife friendly gardens benefit from:
- Native flowering perennials that bloom at different times, providing nectar and pollen from spring through fall
- Berry-producing shrubs like elderberry, serviceberry, or native holly for food sources
- At least one native tree if space allows, which offers nesting sites and insects for birds
- Grasses and groundcovers that provide seeds and shelter for small creatures
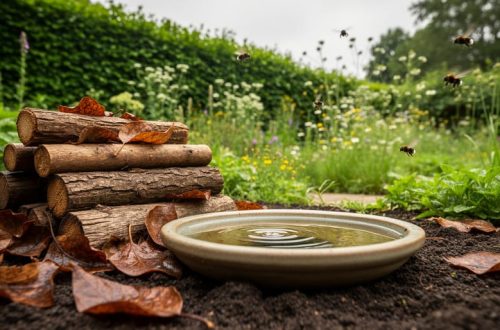
For water features, start simple. A shallow birdbath, ceramic plant saucer, or recycled container works perfectly when placed on the ground or elevated. Add a few stones inside so insects and small animals can climb out safely.
Shelter materials cost nothing if you use what nature provides. Collect fallen branches for brush piles, stones for small rock walls, and leaves for natural mulch. Save hollow logs or stumps rather than removing them. If you want to add manufactured elements, birdhouses, bat boxes, and bee hotels are worthwhile but optional additions.
Budget-conscious gardeners can phase their projects over several seasons, starting with one pollinator garden bed and a simple water source. Renters should focus on container-grown native plants and portable features like birdbaths that move with you.
Important Considerations Before You Begin
Before you transform your outdoor space into a haven for local creatures, a few practical considerations will help ensure your project succeeds while keeping everyone safe.
Start by calling 811 or your local utility locator service before digging any holes for ponds, fence posts, or planting beds. Underground cables and pipes aren’t always where you expect them. This simple phone call prevents dangerous accidents and costly repairs.
Check your local council or wildlife trust guidelines about feeding certain animals or installing structures like nest boxes. Some areas have restrictions on feeding deer or foxes, and a few neighbourhoods require permits for water features. Five minutes of research now saves headaches later.
Pay close attention to plant selection. Invasive species like Japanese knotweed or Himalayan balsam might support some wildlife, but they’ll quickly overtake native plants and spread beyond your boundaries. Stick with plants native to your region, your local Master Gardener programme can provide a recommended list.
Think about your neighbours, too. A thriving wildlife garden doesn’t mean an unkempt mess. If you’re planning wildlife-friendly fencing or letting a corner grow wild, a quick conversation explaining your intentions often prevents complaints. Many gardeners find that once neighbours see the butterflies and birds, they’re inspired to join in.
Finally, consider your household. If you have pets, research which wildlife might conflict with them, and create separate zones where needed. Young children should learn which areas to explore and which to observe from a distance.
Step-by-Step: Building Your Wildlife Friendly Garden
Step 1: Assess Your Space and Wildlife Needs
Start by spending 30 minutes in your garden at different times of day to observe which areas receive full sun (six-plus hours), partial shade, or full shade. This simple observation reveals where to position sun-loving wildflowers versus shade-dwelling ferns. Grab a notebook and sketch your space, marking existing trees, structures, and these light patterns.
Next, identify which wildlife already visits or lives nearby. Look for birds, butterflies, bees, and ground-dwelling creatures like frogs or hedgehogs. Your local nature center or wildlife trust can tell you which species are native to your region and what habitat features they need most.
Urban gardeners and those with small spaces shouldn’t feel discouraged. A balcony or courtyard can support pollinators and birds just as effectively through strategic planning. Even a container wildlife garden on a fire escape attracts beneficial insects and provides nectar sources.
Measure your available planting areas, note soil type (clay, sandy, or loamy), and check drainage after rain. These details determine which native plants will thrive without constant intervention, making your wildlife-friendly efforts sustainable long-term.
Step 2: Plan Your Garden Layers
Wildlife thrives when gardens offer structure at every height, from soil level to canopy. Plan your layers to mirror a woodland edge: ground covers along the bottom, mid-height shrubs in the middle, and small trees or tall perennials forming the upper tier.
Start with a ground layer of low plants like creeping thyme, wild strawberry, or native sedges. These protect soil, shelter ground beetles, and give small mammals cover as they forage. Next, add shrubs between three and six feet tall, native hollies, viburnums, or serviceberries work well. These mid-level plants offer nesting sites for songbirds and berries for migrating species.
Your tallest layer provides critical perching spots and protection. Even a small tree like a native dogwood or crabapple creates habitat that flat gardens can’t offer. If space is tight, climbing vines on a trellis add vertical interest without the footprint.
This layered approach isn’t just about height. It creates microclimates, shady spots where toads shelter, sunny patches where butterflies warm up, and wind-protected corners where birds rest. Different species use different zones, so stacking your garden vertically multiplies the wildlife it can support. Sketch your layers on paper first, noting which areas will get morning sun and where shade will fall by afternoon.
Step 3: Choose and Plant Native Species
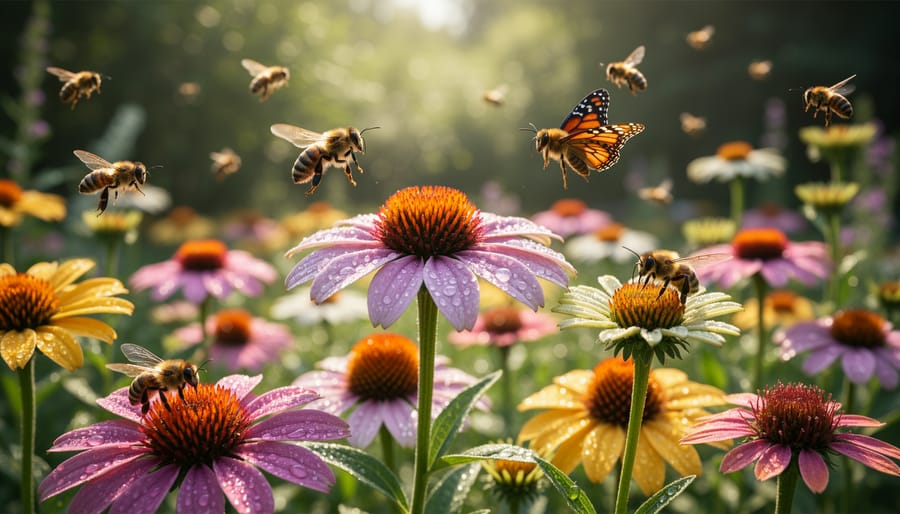
Choose plants that evolved alongside your local wildlife, they’ll need less care and provide exactly the food and shelter native species require. Contact your county extension office or check regional native plant societies for a list specific to your area. Look for plants that offer food across all seasons: spring flowers for early pollinators, summer berries for birds, autumn seeds, and winter shelter.
Start with keystone species, the plants that support the most wildlife in your region. In many areas, native oaks support hundreds of butterfly and moth species, while non-native ornamentals might feed only a handful. Mix plants with different bloom times so something’s always flowering from March through October. Group the same species in clusters of three or five rather than scattering single plants, this makes it easier for pollinators to find them and creates visual impact.
Before planting, prepare wildlife-friendly soil by adding compost and avoiding synthetic fertilizers. Arrange taller plants toward the back or center, shorter ones toward edges, but leave some deliberate messiness. Perfect rows don’t offer the varied microclimates wildlife needs. Plant densely enough that you’ll eventually have overlapping canopies and ground covers, these layered spaces give insects and small creatures places to shelter while they forage.
Step 4: Add Water Features
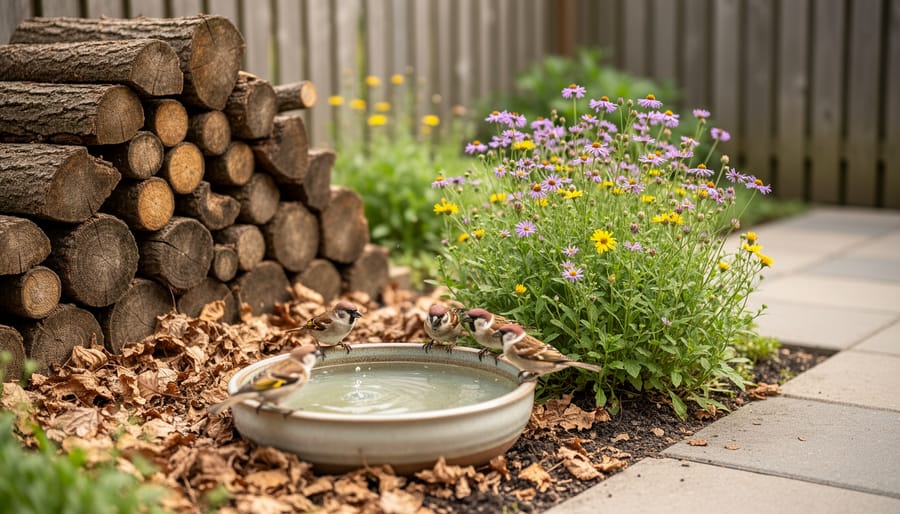
Water is essential for wildlife survival, especially during hot summers and dry spells. Start with a shallow birdbath placed in an open area where birds can spot approaching predators. Fill it with just one to two inches of water and add a few stones or pebbles so smaller birds and insects have safe perching spots to drink without drowning.
For ground-level wildlife, set out low dishes or plant saucers near shelter areas. Bees and butterflies need barely any depth, a saucer with pebbles breaking the surface works perfectly. Change the water every two to three days to prevent mosquito breeding and keep it fresh.
If you have space, a small wildlife pond creates the biggest impact. Even a half-barrel water garden attracts frogs, dragonflies, and visiting mammals. Ensure one side slopes gradually so creatures can enter and exit safely. Skip the pump and filter, still water suits most wildlife better than fountains, and beneficial insects need calm surfaces to land on.
Position all water sources where you can easily refill them, because consistency matters more than size. Wildlife learns where reliable water exists and returns daily.
Step 5: Create Shelter and Nesting Sites
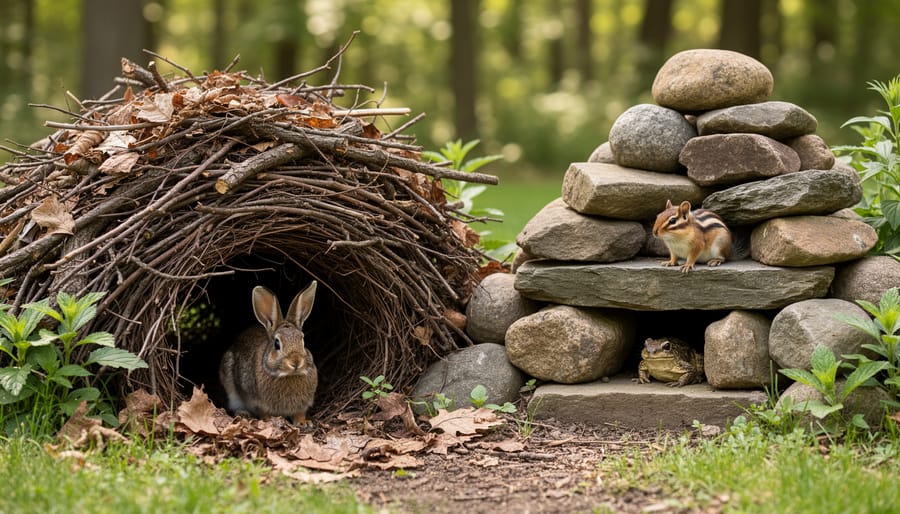
With plants and water in place, your wildlife needs secure spots to shelter, nest, and raise young. Start by piling pruned branches, twigs, and fallen leaves in a quiet corner. These brush piles offer instant refuge for hedgehogs, ground beetles, and nesting birds. Stack them loosely so creatures can move through the layers.
If you have stones or broken pavers, arrange them into a low wall or rockery. Gaps between rocks become perfect hideaways for amphibians and beneficial insects. Position birdhouses on trees or posts, choosing designs that match the species in your area, small entrance holes for wrens, larger ones for bluebirds.
Leave one patch of your garden deliberately untamed. Let grass grow tall, allow seed heads to stand through winter, and resist tidying fallen logs. This “wild zone” becomes prime real estate for overwintering butterflies, solitary bees, and small mammals. The messier it looks to you, the more valuable it is to wildlife seeking safe haven from predators and harsh weather.
Step 6: Establish Chemical-Free Maintenance Practices
Your wildlife-friendly garden thrives when you work with nature instead of against it. Store your chemical fertilizers and pesticides, wildlife needs you to go organic. Compost kitchen scraps and garden waste to create nutrient-rich soil naturally. When aphids appear on your roses, wait a day or two; ladybugs and lacewings often arrive to handle the problem themselves.
Leave fallen leaves in garden beds through winter. They’re not mess, they’re habitat. Ground beetles, moths, and native bees shelter underneath while earthworms break down the material into soil. Let seed heads stand instead of deadheading everything in autumn. Goldfinches and chickadees rely on those seeds when food is scarce.
Skip the leaf blower. Rake leaves into corner piles where toads and salamanders can overwinter. Pull weeds by hand rather than spraying, and accept that a few dandelions feed early bees when little else blooms. Water during morning hours to reduce fungal issues without chemicals.
This gentler approach takes patience initially, but within one season you’ll notice the balance shift. Predator insects multiply, soil improves, and you’ll spend less money while supporting the wildlife you invited in.
How to Know Your Garden Is Working
Your wildlife friendly garden won’t transform overnight, but you’ll notice encouraging signs sooner than you might expect. Within the first few weeks, butterflies and bees should start visiting flowering plants. By the second month, you’ll likely spot birds investigating seed heads and water features. The real magic unfolds over your first full year as seasonal residents discover the food, water, and shelter you’ve provided.
Spring brings the most visible activity. Listen for bird songs at dawn as nesting pairs establish territories. Watch for native bees emerging and pollinating early bloomers. Summer should buzz with life: butterflies laying eggs on host plants, dragonflies patrolling water features, and hummingbirds visiting nectar sources. Autumn reveals successful breeding when you spot fledglings learning to forage. Winter, though quieter, proves your garden works when birds flock to seed heads you left standing and small mammals shelter in brush piles.
Keep a simple notebook near your window to track what you see and when. Jot down first sightings, new species, and which plants attract the most visitors. Note gaps too. If you’re not seeing pollinators, you might need more native flowers. Missing birds could mean adding berry-producing shrubs. Photos taken monthly document changes you might otherwise miss.
A truly thriving wildlife friendly garden shows these markers: diverse insect species beyond just honeybees, birds visiting throughout the day rather than passing through, evidence of nesting or breeding, natural pest balance without chemical intervention, and increasing wildlife variety year over year. When you spot a toad, a nesting bird, or a chrysalis attached to a stem, you’ve created something special.
Ready to take it further? Connect with your local Master Gardener program for a garden evaluation, add a second water feature in an underserved area, or expand your native plant palette to support specialist species. Every enhancement builds on your success.
Common Questions from Wildlife Gardeners
Will a wildlife friendly garden attract rats or other pests I don’t want?
Wildlife gardens actually encourage natural predators like owls, hawks, and snakes that help control rodent populations. Avoid leaving pet food outside, secure your compost properly, and keep bird feeders clean, these simple habits prevent unwanted visitors while still welcoming beneficial wildlife.
How much time does maintaining a wildlife friendly garden require each week?
Once established, most wildlife gardens need less maintenance than traditional landscapes because you’re working with nature rather than against it. Expect to spend 30 minutes weekly on basic tasks like refilling water features and light weeding, with seasonal pruning adding a few extra hours in spring and fall.
Can I create a wildlife friendly garden on a tight budget?
You can start with free or low-cost options like leaving a corner of your lawn unmowed, collecting rainwater in repurposed containers, and building brush piles from pruned branches. Native plant swaps with neighbors and starting from seed rather than buying mature plants can build your garden inexpensively over time.
What if I rent and can’t make permanent changes to the garden?
Container gardens filled with native plants work beautifully for renters, along with portable water features and temporary wildlife shelters you can take when you move. Window boxes, hanging baskets, and even a small balcony can support pollinators and birds without requiring landscape alterations.
One concern that comes up often in our Master Gardener workshops involves neighbors who prefer perfectly manicured lawns. If you’re worried about pushback, start small with one wildlife-friendly bed near your house, keep edges tidy, and add a simple sign explaining your pollinator garden. Most neighbors become curious rather than critical once they see the butterflies and songbirds your space attracts. Share extra plants or invite them to observe the wildlife with you, personal connection often turns skeptics into converts.
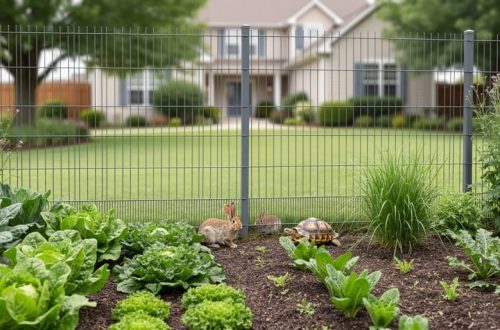
Some gardeners worry about deer browsing their carefully chosen native plants or rabbits decimating vegetables. Rather than reaching for fencing immediately, try layering your plantings so that less palatable species protect more vulnerable ones. Deer generally avoid strongly scented herbs and fuzzy-leaved plants, which you can use as a living barrier. Remember that some browsing is normal in a wildlife garden; you’re sharing space, not creating a museum display.
Creating a wildlife friendly garden is simpler than you might think, and the impact extends far beyond your property line. Every native plant you add, each water source you provide, and all the shelter you create contributes to a network of habitats that supports birds, pollinators, and countless other species in your community. Your garden becomes part of the solution to habitat loss, one thoughtful choice at a time.
Whether you’ve transformed a single balcony container or an entire backyard, you’re now part of a growing movement of gardeners who understand that beautiful spaces and thriving ecosystems go hand in hand. The wildlife will notice your efforts, often faster than you expect.
We’d love to hear about your wildlife gardening journey. Share your successes, challenges, and observations with fellow gardeners in your area, or consider joining local gardening workshops where you can learn alongside your neighbors. Your local Master Gardener program offers free expertise and connects you with others who share your commitment to sustainable, wildlife-friendly practices. Together, we’re creating corridors of life that benefit entire ecosystems.