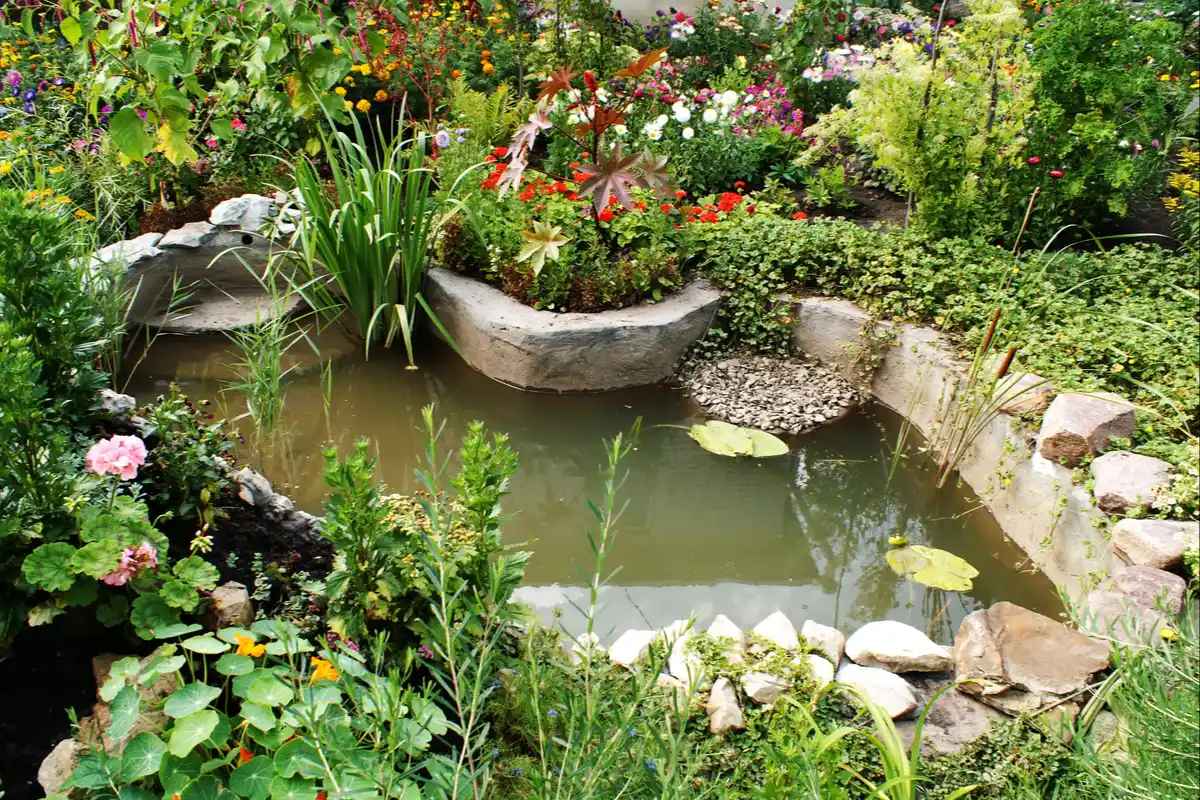
Introducing a pond into your garden presents a wonderful opportunity to draw in a variety of wildlife, ranging from frogs, toads, and newts to hedgehogs, birds, and aquatic insects.
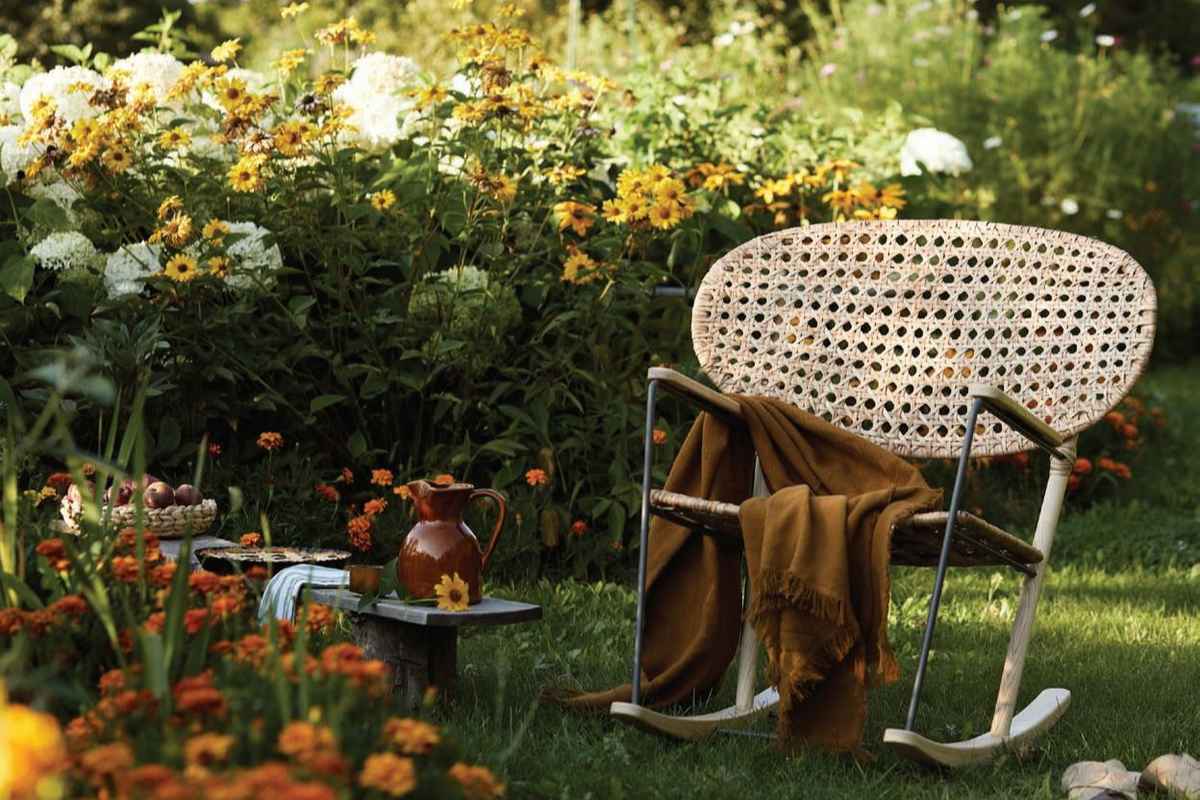
Additionally, ponds offer a serene spot for us to enjoy, providing a tranquil space for sunny afternoons. For children, ponds are captivating and educational – supervised pond dips can be a fantastic way to teach them about the lives of amphibians and other creatures.
To embark on creating your pond, begin by marking out its position on the ground. A garden hose works well for a more casual-shaped pond, while canes and string can be employed for formal designs, as illustrated in our example below.
When determining the liner size, measure the length and multiply it by twice the depth, then add an extra 15cm for an overlap. Repeat this process for the width to determine the necessary size.
You want to plant your garden pond with native aquatic plants like hornwort, water forget-me-not, and brooklime. If possible, fill it with rainwater. Your garden’s wildlife inhabitants will naturally gravitate towards it in no time.
Step-by-step Guide
- Begin by excavating a hole to a depth of 45cm. Place 60cm-long pegs around the perimeter and attach 2cm-thick retaining boards to them. Frame the edges using timber, fastening it to the top of each peg.
- To ensure uniformity, use a spirit level and lengthy plank to confirm that all sides of the hole are level.
- Create a gradual marginal shelf by adding extra soil to one side of the hole. Compact it firmly using your heels and then rake it evenly.
- Verify the depth of your marginal shelf in relation to your potted aquatic plants. The pond’s surrounding edge should sit approximately 2-3cm above the pot’s rim.
- Remove any sharp stones from the soil, then lay protective underlay within the hole. Options include geotextile liner or carpet offcuts.
- Position the pond liner over the hole and, without shoes, step in to press the liner into every crevice, forming neat pleats for a tidy result. Leave a 15cm overlap along the edges.
- Fill the pond, ideally with rainwater from your water butt. If tap water is necessary, allow it to stand for a week before planting to enable chlorine to dissipate.
- Once filled, trim the liner and underlay together, maintaining a 10-15cm overlap. Fold the corners, preparing to affix them to the planks.
- Lay decking lengths along the four pond edges, parallel to the sides. Indicate and cut where planks intersect.
- Customize the size, then drill through the decking, liners, and the edging frame beneath. Draw the liner taut for a neat finish, and using extended brass screws, securely attach the planks in position.