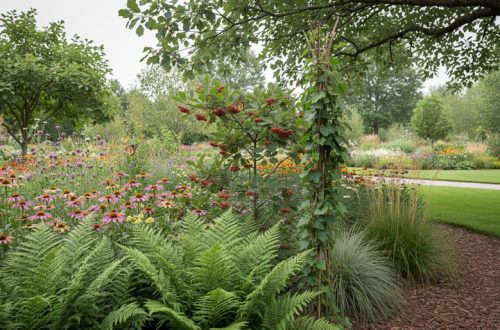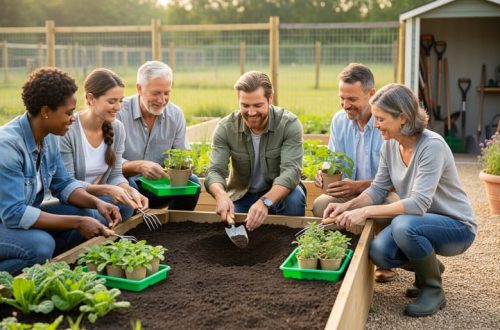
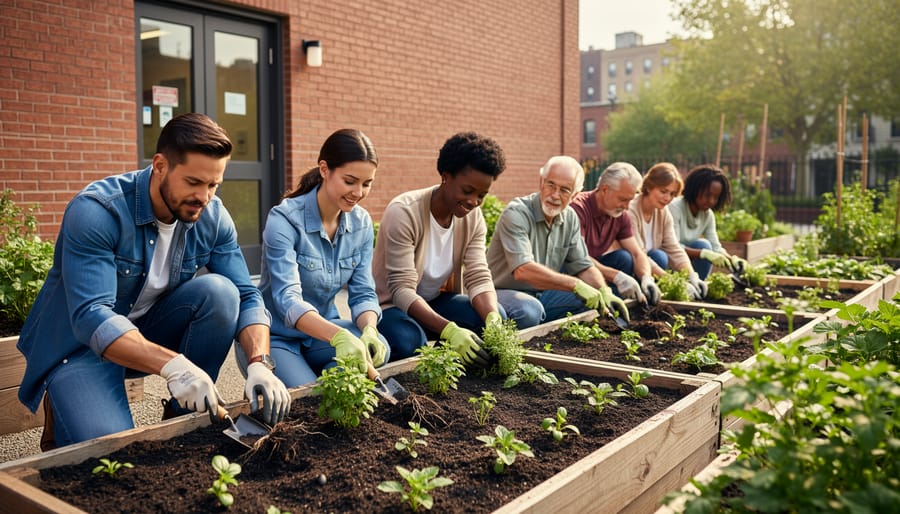
Launching an urban gardening program transforms empty city lots and underutilized spaces into thriving community hubs where neighbors learn to grow food, connect with nature, and build practical skills together. The process takes three to six months from planning to first workshop, with most successful programs starting small through a demonstration garden and a series of hands-on sessions that address the unique challenges of growing in urban environments: contaminated soil, limited space, and unpredictable access to water.
Community organizers and educators who’ve built these programs report that success hinges on three foundations: securing a committed core team of volunteers, partnering with local organizations that already have community trust, and designing workshops around real problem-solving rather than theory. The best programs don’t lecture. They invite participants to get their hands dirty, troubleshoot a raised bed together, or taste herbs grown on a fire escape.
Urban gardening programs serve multiple goals at once. They address food access in neighborhoods without fresh produce, create green spaces that reduce heat islands and improve air quality, and offer a practical entry point for residents who want to take action on sustainability but don’t know where to start. Schools use them to teach science and nutrition. Community centers use them to gather isolated neighbors. Volunteers discover leadership skills they didn’t know they had.
This guide walks you through establishing a program that delivers consistent value to your community, from choosing the right site and designing demonstrations that teach core techniques, to managing safety concerns unique to city environments and measuring your impact as you grow.
What You’ll Need to Launch Your Program
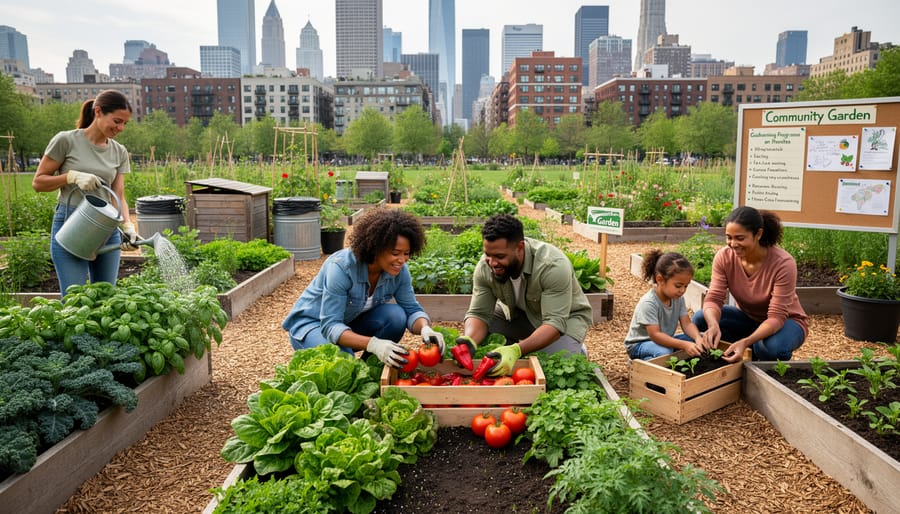
Starting an urban gardening program requires more than enthusiasm, you need specific resources, committed people, and practical supplies to turn your vision into reality. The good news? Most programs begin with modest investments and grow organically as community support builds.
Your physical requirements depend largely on your chosen space. You’ll need access to land, whether it’s a vacant lot, unused school property, or space in a public park. The site should receive at least six hours of sunlight daily and have access to water, either through municipal connections or rain catchment systems. Don’t worry if the soil quality is poor; many urban programs successfully use raised beds filled with purchased soil and compost.
The essential materials and support systems break down into several categories:
- Physical supplies: Basic hand tools (shovels, rakes, hoes, pruners), raised bed lumber or containers, quality soil and compost, seeds and starter plants, hoses or irrigation supplies, tool storage shed or lockbox
- Human resources: Core team of 3-5 committed organizers, volunteer coordinator, garden experts or Master Gardeners willing to lead workshops, community members who can commit 2-4 hours weekly during growing season
- Partnerships: Local Extension office or Master Gardener program, municipal parks department or land owner, schools or community centers for meeting space, environmental organizations for technical support
- Funding sources: Small grants from community foundations, environmental nonprofits, or municipal green space programs; in-kind donations from local garden centers; modest member contributions or workshop fees
- Educational materials: Workshop curriculum outline, seasonal planting guides for your region, signage for demonstration areas, handouts on organic practices and wildlife-friendly gardening
Most successful programs start small with one or two demonstration beds and expand based on volunteer capacity and community response. You don’t need everything on day one. A core group of passionate organizers, access to a suitable site, and basic tools will get you started. Additional resources can be acquired gradually as your program gains traction.
Budget between $500-$2,000 for initial setup depending on site conditions and whether you’re building raised beds. Many communities find that hosting a planning meeting reveals unexpected resources, someone knows a lumber supplier, another has extra tools, a third can secure donated compost. The partnerships you build during planning often prove more valuable than purchased supplies.
Important Considerations Before You Begin
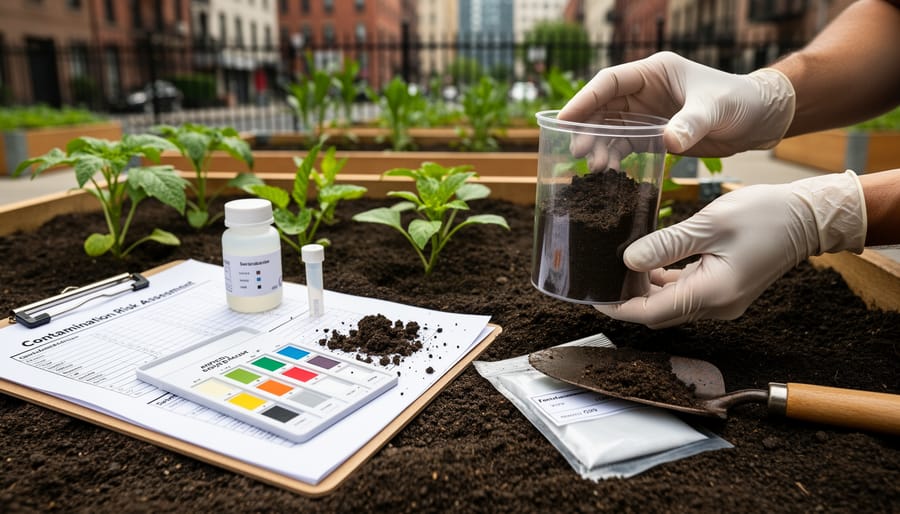
Before you break ground, address critical planning and safety factors that can make or break your program. Rushing into setup without these considerations often leads to health risks, legal complications, and community frustration.
Start with thorough site characterization and testing through your local Extension office or environmental lab. If contamination levels exceed safe limits for food production, plan for raised beds with clean imported soil rather than abandoning the project. This protects participants and builds trust with families who’ll eat what you grow.
Check local zoning ordinances and secure necessary permits before installing any permanent structures. Many municipalities require approval for community gardens, water lines, or wildlife-friendly fencing. Contact your city’s planning department early, permit delays can derail your timeline.
Liability insurance is non-negotiable. Work with your sponsoring organization or municipality to ensure coverage for volunteers, workshop participants, and visitors. Most community centers and schools can extend their existing policies to cover garden activities, but verify this in writing before your first event.
Assess water access carefully. Gardens need consistent irrigation, and hauling water quickly burns out volunteers. Identify the nearest water source, calculate installation costs for permanent lines, and confirm who’ll cover ongoing utility bills.
Finally, gauge genuine community interest before committing resources. Host an informal meeting or survey potential participants, enthusiasm from three vocal supporters doesn’t mean broad engagement. Programs succeed when they reflect what your specific community actually wants, not what organizers assume they need.
Step-by-Step: Building Your Urban Gardening Program
Assess Community Needs and Secure a Site
Start by talking directly with potential participants. Walk through your neighborhood knocking on doors, set up tables at farmers markets, or post surveys at community centers and libraries. Ask residents what they want to grow, what challenges they face accessing fresh produce, and what times work best for workshops. These conversations reveal whether your community needs basic vegetable gardening skills, container growing techniques for apartment dwellers, or specialized topics like preserving harvests.
Next, identify organizations already serving your community. Reach out to schools, churches, community development corporations, and environmental nonprofits. These groups often have connections, volunteers, and resources you’ll need. Extension Master Gardener programs in your county can provide expert guidance and educational materials at no cost.
For the site itself, look for underutilized spaces with at least six hours of daily sunlight. You might turn empty lots into productive gardens, partner with schools for unused lawn areas, or work with your parks department to access public land. When approaching property owners, present a clear vision of how the program benefits the neighborhood through beautification, community engagement, and educational value. Get commitments in writing, ideally for multi-year access, so your program can establish roots.
Build Your Core Team and Partnerships
A successful urban gardening program depends on people who bring diverse skills and sustained commitment. Start by recruiting three to five core volunteers willing to meet monthly and take ownership of specific areas, workshop coordination, site maintenance, communications, or partnership outreach. Look for gardeners with teaching experience, but also welcome enthusiastic beginners who can grow into leadership roles.
Connect with your local Extension Master Gardener program early. These trained volunteers provide free expert guidance, workshop content, and credibility that attracts participants. Many Master Gardeners actively seek community projects to fulfill their service hours and will become your most reliable instructors.
Approach schools, community centers, libraries, and environmental nonprofits as partners rather than just venues. Each brings networks you cannot reach alone: schools provide family audiences and youth volunteers, community centers offer meeting space and administrative support, environmental groups supply grant-writing expertise and connections to funders. Propose specific collaborations, a school might host spring workshops in exchange for a student volunteer program, or a nonprofit could provide liability insurance coverage if your garden becomes part of their broader initiative.
Formalize key partnerships with simple agreements outlining who provides what, so expectations stay clear as your program expands.
Design Your Garden Space and Workshop Areas
Start by sketching your garden layout on paper or using free online tools, dividing the space into distinct zones that serve different purposes. Create demonstration beds of varying sizes, some raised for accessibility, others at ground level, where you can showcase different growing methods side by side. Plan pathways at least 36 inches wide for wheelchair access, using stable materials like compacted gravel or mulch rather than loose stone.
Designate a central gathering area with seating where workshop participants can observe demonstrations without standing throughout. This space should offer partial shade and accommodate at least 15 people comfortably. Position your tool storage shed or lockbox nearby so instructors can easily grab supplies during sessions.
Integrate wildlife habitat features like native plant sections, bird baths, and brush piles as teaching stations, these become demonstration opportunities for sustainable gardening practices. Place informational signs at each garden feature explaining its purpose and maintenance, so visitors learn even when formal workshops aren’t running. Include a bulletin board near the entrance for posting upcoming workshop schedules and seasonal gardening tips.
Develop Your Workshop Curriculum
A successful curriculum balances education with hands-on practice. Start by mapping a year of topics that follow the growing season, seed starting in late winter, transplanting in spring, pest management in summer, harvest preservation in fall, and composting through winter. This rhythm keeps participants engaged year-round while teaching skills when they’re immediately applicable.
Structure each session as a demonstration followed by practice. For example, a pruning workshop might show proper technique on established plants, then let participants try on designated demonstration shrubs. Mix skill levels by offering beginner sessions (soil basics, watering fundamentals) alongside advanced topics (season extension, companion planting strategies). Weave in sustainable practices throughout, composting demonstrations, rain barrel maintenance, integrated pest management, rather than isolating them.
Dedicate at least two sessions per season to wildlife-friendly techniques: native plant selection, creating pollinator habitat, building bird-friendly spaces. These gardening workshops resonate deeply with community values.
The Riverside Community Garden in Portland runs monthly Sunday workshops that draw 25-40 participants. Their secret? They pair every educational topic with immediate garden work, participants learn, then apply that skill in the shared beds. This approach creates visible progress while building genuine expertise among community members who return season after season.
Prepare the Site and Install Infrastructure
Start with your site’s biggest challenge: contaminated soil. Urban lots often harbor lead, heavy metals, and pollutants from decades of industrial use or old paint. If your soil tests reveal contamination above safe levels, install raised beds with at least 12 inches of clean, wildlife-friendly soil rather than risk direct ground planting.
Next, establish water access. Run drip irrigation lines to each demonstration bed, or install rain barrels connected to nearby downspouts, urban programs need reliable watering that doesn’t depend on volunteers remembering to haul hoses. Position a three-bin composting system in a visible but not central location so workshop participants can see active decomposition without it dominating the space. Create clear signage identifying each demonstration area: label your pollinator garden, companion planting beds, and vertical growing techniques so visitors know what they’re observing. Finally, designate a dedicated workshop zone with seating, a potting bench, and tool storage where hands-on sessions can happen without trampling production beds.
Launch with a Community Event
Plan your launch event 2-3 weeks before peak planting season when energy is high and immediate action is possible. A Saturday morning works best, aim for 9am to noon when families can attend together.
Structure the event around three stations: a hands-on planting demonstration where attendees start seedlings to take home, a garden tour showcasing your demonstration beds and explaining your approach, and a brief workshop on one fundamental skill like composting or companion planting. Keep formal presentations under 15 minutes; people came to garden, not sit.
Generate buzz through local libraries, schools, faith communities, and neighborhood social media groups. Partner with a community organization to co-host, their existing network becomes your audience. Offer free seeds, refreshments, and a raffle for garden supplies donated by local businesses.
Create a visible sign-up sheet for future workshops and volunteer shifts. Capture names and emails, but more importantly, send everyone home with something growing and a reason to return next week.
Measuring Success and Sustaining Momentum
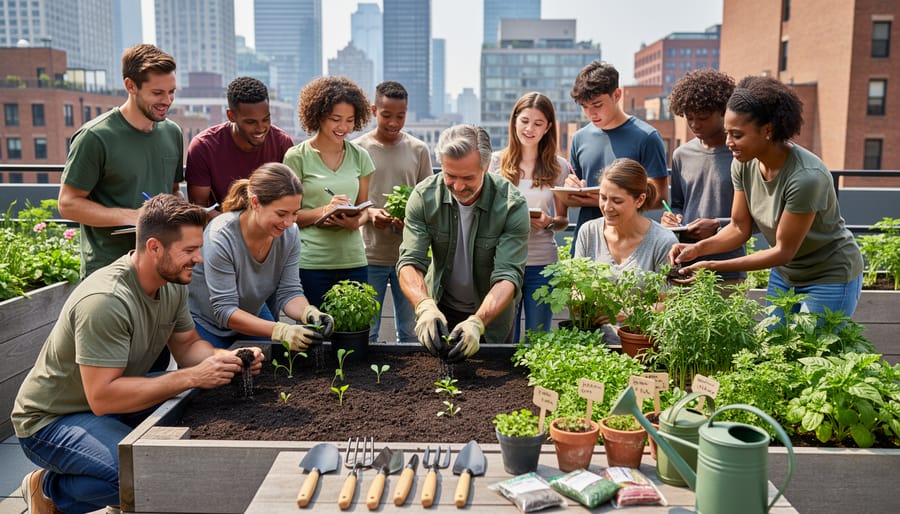
Track your program’s health by monitoring three key areas consistently. Start with simple attendance logs at each workshop and garden session, note not just numbers but returning faces. A healthy program shows 60-70% of participants attending multiple events, not just dropping in once.
Measure what you’re growing beyond vegetables. Create a simple harvest log where participants record what they take home from community beds, pounds of tomatoes, bunches of herbs, bags of greens. These tangible results prove the program delivers on its food access promise. One Philadelphia program discovered their twelve raised beds produced over 800 pounds of produce in the first season, a number that convinced funders to support expansion.
Survey participants twice yearly with just five questions: What did you learn? What would you change? Will you return? Have you started gardening at home? Would you recommend this program? Keep it short enough to complete in two minutes. The responses reveal whether your workshops actually transfer skills and whether the community feels ownership.
Watch your volunteer core. Programs that thrive maintain a stable team of 8-12 regular volunteers who handle logistics, freeing others to drop in as schedules allow. If you’re losing volunteers faster than you gain them, that’s your signal to reassess workload distribution and recognition efforts.
Signs of momentum include unsolicited community requests, neighbors asking when the next workshop happens, schools inquiring about field trips, or participants volunteering to lead sessions on their specialty topics. When people start connecting outside scheduled events to share seeds or troubleshoot problems, you’ve built something sustainable.
Adjust when participation drops for three consecutive sessions, when the same questions arise repeatedly suggesting curriculum gaps, or when volunteers express burnout. Programs evolve, what worked in year one may need refreshing in year two as your community’s skills advance and interests shift.
Common Questions About Starting Urban Gardening Programs
Starting an urban gardening program raises practical questions. Here are answers to help you move forward with confidence.
What’s a realistic budget for starting an urban gardening program?
Initial costs typically range from $500 to $3,000 depending on site conditions and scale, covering tools, seeds, soil amendments, and basic infrastructure. Many programs reduce expenses through donated materials, grants from local foundations, and partnerships with garden supply stores.
How much time does running the program require each week?
Core organizers usually commit 5-10 hours weekly during the growing season for coordination, communication, and site maintenance. Distributing tasks across a team of volunteers makes this manageable, and workload decreases once systems are established.
How do I keep volunteers engaged long-term?
Offer varied roles matching different interests and schedules, celebrate contributions publicly, and create social connections through shared meals or seasonal gatherings. Regular communication about impact, pounds of produce grown, workshop attendance, wildlife sightings, keeps people invested in the mission.
Can urban gardening programs operate year-round?
Absolutely. Cold-season activities include indoor seed-starting workshops, tool maintenance sessions, garden planning meetings, and educational programs on topics like composting or native plants. Some communities build hoop houses or focus on winter-hardy crops to extend the growing season.
How do I make the program welcoming to diverse community members?
Offer multilingual materials and translators when possible, schedule events at varied times to accommodate different work schedules, ensure physical accessibility, and actively invite input on what crops and practices matter to different cultural groups. Partner with community organizations that already serve diverse populations.
When should I consider expanding to multiple garden sites?
Wait until your first site runs smoothly with established volunteer leadership, consistent attendance at workshops, and a sustainable maintenance routine, typically after one full growing season. Expansion works best when you can replicate your successful model and have neighborhood champions ready to lead new locations.
Don’t let these questions stop you from starting. Most successful programs began small, learned as they went, and grew organically based on community response. Your Extension Master Gardener program can connect you with experienced organizers who’ve navigated these same challenges and built thriving urban gardening initiatives. The answers become clearer once you take that first step and begin engaging your community.
Starting an urban gardening program transforms more than empty lots. You’re creating gathering spaces where neighbors learn together, children discover where food comes from, and communities build resilience one workshop at a time.
The impact reaches beyond your first harvest. When volunteers teach composting demonstrations or lead a native plant workshop, they’re sharing skills that participants carry into their own yards and balconies. That knowledge spreads through families and friend groups, multiplying your program’s reach throughout the neighborhood. Meanwhile, every demonstration bed becomes habitat for pollinators and wildlife, strengthening urban ecosystems plot by plot.
You don’t need to be an expert to begin. Start small with a core group of committed volunteers and build from there. Your local Extension Master Gardener program offers free guidance, connects you with experienced mentors, and often provides workshop materials. They’ve helped thousands of communities launch successful programs.
Take that first step now. Reach out to a few interested neighbors, identify a potential site, and contact your Extension office. Your community’s urban gardening program starts with your decision to make it happen.