Your spade might be your garden’s worst enemy. Every time you turn the soil, you’re disrupting an underground ecosystem that took years to build. Beneficial fungi lose their networks. Earthworms scatter. Carbon escapes into the atmosphere. Seeds buried deep suddenly find light and germinate as weeds.
No till gardening flips this script entirely. Instead of breaking down soil structure season after season, you work with nature’s own processes to build fertility from the top down. You add compost and organic matter as a protective blanket on the surface, exactly as forests have done for millions of years. The organisms below do the mixing for you.
This approach aligns perfectly with sustainable gardening principles that prioritize soil health and ecosystem balance. When you stop tilling, something remarkable happens. Soil structure improves dramatically. Water infiltration increases. Beneficial insects find permanent homes in the undisturbed ground. Your back gets a break too.
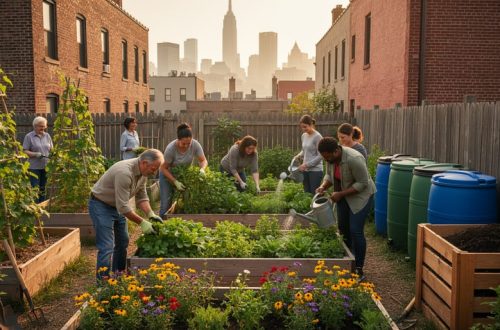
Maria Chen, a community gardener in Portland, made the switch three years ago. “I was skeptical at first,” she admits. “But my tomato yields went up 40 percent, and I spend half the time I used to preparing beds.” Her story isn’t unique. Gardeners across the country are discovering that doing less work actually produces better results.
The transition is simpler than you think. You don’t need special equipment or extensive knowledge. Just a willingness to observe, layer organic materials thoughtfully, and trust the process. Whether you’re starting a brand new garden bed or converting an existing plot, the steps remain straightforward and accessible.
What No Till Gardening Really Means
No till gardening is exactly what it sounds like: growing food and plants without turning over or mechanically disturbing the soil. Instead of using a rototiller, spade, or plow to break up the ground each season, you leave the soil structure intact and build fertility from the top down with layers of organic matter.
This approach works with nature’s own system. In a forest or meadow, nobody tills the soil, yet plants thrive because the ground remains undisturbed, allowing complex underground networks to develop and function. No till gardening recreates this natural process in your garden beds.
Understanding a few key concepts helps explain why this matters:
- Soil Structure
- The arrangement of soil particles into clumps and spaces that allow air, water, and roots to move through. Tilling destroys this structure, while no till preserves it.
- Mycorrhizal Networks
- Beneficial fungi that form partnerships with plant roots, extending their reach for water and nutrients. These networks break apart when soil is disturbed and take time to rebuild.
- Soil Food Web
- The community of organisms living in healthy soil, from bacteria and fungi to earthworms and insects. No till methods protect their habitat and allow populations to flourish.
Traditional tilling might look productive, creating that picture-perfect seedbed, but it comes at a cost. Each time you till, you’re breaking fungal threads, killing earthworms, exposing dormant weed seeds to light, and releasing stored carbon into the atmosphere. The soil becomes compacted more easily afterward, requiring more tilling in a frustrating cycle.
No till breaks that cycle. You’re building soil health instead of depleting it, creating habitat instead of destroying it, and ultimately doing less work while growing healthier plants. The transition requires a shift in thinking, but the soil structure you preserve becomes your garden’s greatest asset.
How Healthy Soil Becomes a Wildlife Haven
When you stop turning your soil, you’re not just changing a gardening technique. You’re preserving an entire underground ecosystem that wildlife depends on.
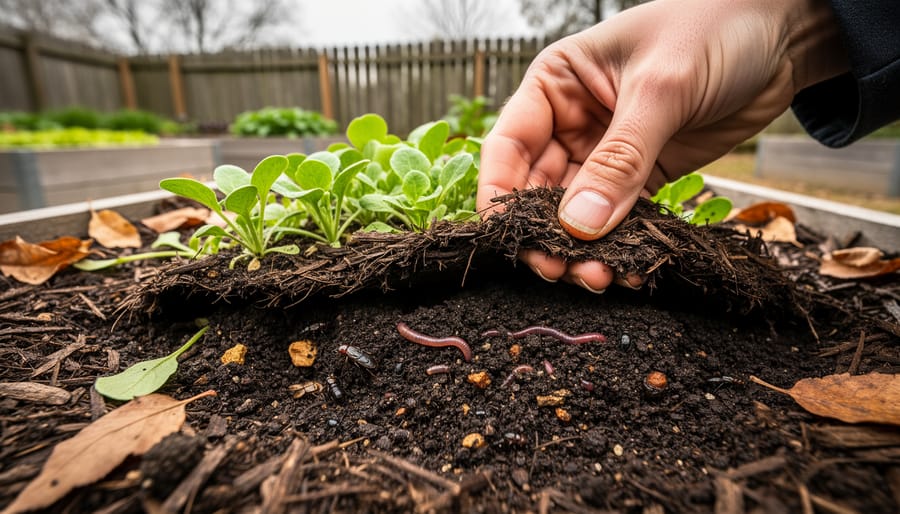
Every shovelful of undisturbed soil contains thousands of earthworms, beetle larvae, and beneficial microorganisms working in layers they’ve established over time. When you till, you destroy these carefully constructed homes and tunnels. No till gardening keeps this structure intact, letting soil creatures thrive exactly where they’ve settled.
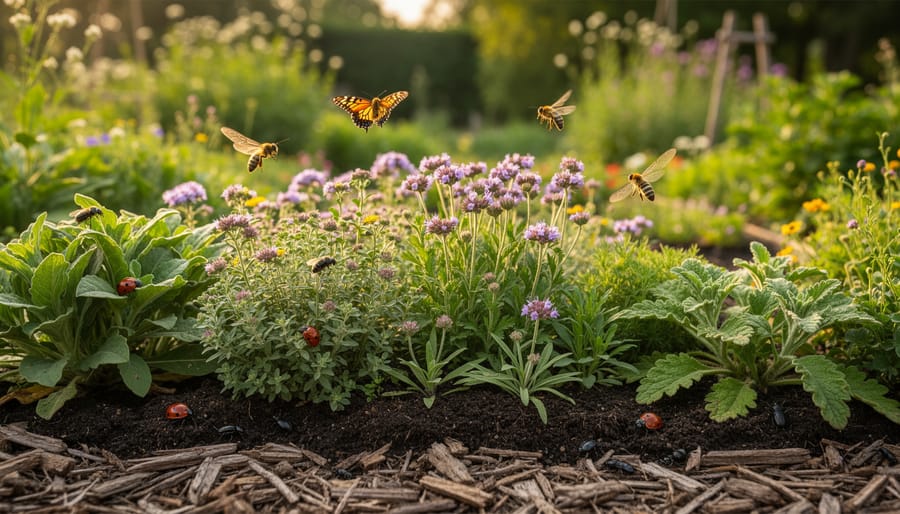
Ground-nesting bees need this stability most. Native species like mining bees and sweat bees create small burrows in bare or lightly vegetated soil to lay their eggs. They return to the same spots year after year. Till once, and you’ve demolished an entire generation’s nursery. Leave the soil alone, and these pollinators will establish permanent residence in your garden beds.
The surface layer matters just as much. A thick blanket of mulch and decomposing organic matter creates hiding spots for ground beetles that eat garden pests, shelter for amphibians hunting slugs, and foraging grounds for songbirds scratching for insects. This top layer stays consistent in no till gardens instead of getting mixed into the soil below.
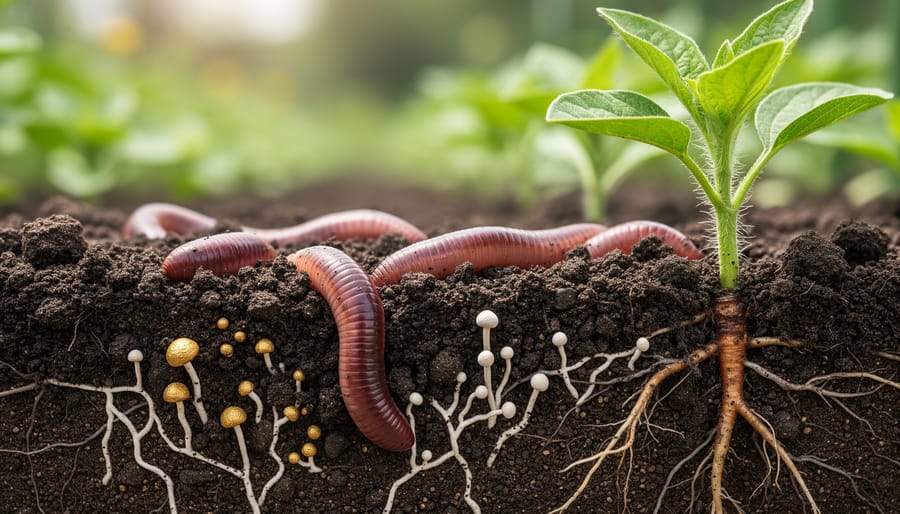
Below ground, fungal networks spread through undisturbed soil like an internet of threads connecting plant roots. These mycorrhizal fungi help plants absorb nutrients while providing food and habitat for soil-dwelling insects and their larvae. Breaking up the soil severs these connections. Leaving it alone lets the network grow stronger each season.
When you create a wildlife-friendly space healthy soil becomes your foundation. The earthworms aerate it naturally. The microbes break down organic matter into plant food. The insects pollinate your flowers and control pests. You don’t need to manage these benefits because they manage themselves when the soil structure stays intact. That’s the real magic of working with nature instead of disrupting it.
Getting Started: Your First No Till Garden Bed
The Cardboard and Compost Method
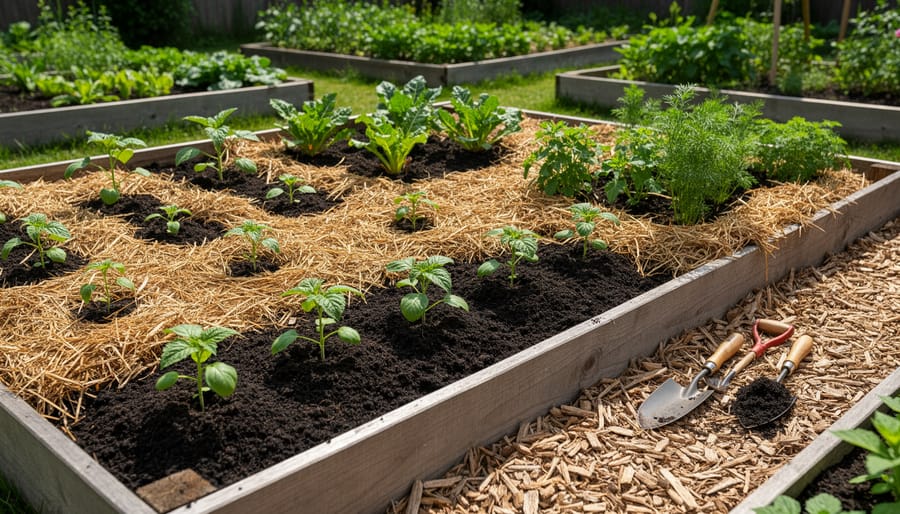
Start by collecting sustainable garden supplies you likely already have: flattened cardboard boxes (remove tape and labels), finished compost or aged manure, and mulch like shredded leaves or straw. You’ll need enough cardboard to cover your chosen bed area with overlapping layers, roughly 3 to 4 inches of compost, and another 2 to 3 inches of mulch on top.
Lay your cardboard directly over grass or weeds in the spot you’ve marked out, no digging required. Overlap the edges by at least 6 inches so nothing sneaks through the gaps. This layer blocks light and sheet mulching suppresses weeds while eventually breaking down to feed soil life beneath.
Water the cardboard thoroughly until it’s soaked through. Spread your compost evenly across the wet cardboard, then top with mulch to lock in moisture and give the bed a finished look. The whole process takes about an hour for a 4-by-8-foot bed.
Wait two to four weeks before planting. During this time, the cardboard softens and earthworms begin moving up through it. For immediate planting, cut X-shaped slits through the cardboard where you want each plant, then tuck transplants into the compost layer. Seeds need a fully decomposed cardboard base, so patience pays off there.
What to Plant First
Start with leafy greens like lettuce, spinach, and arugula, they’re forgiving in fresh no till beds and establish quickly without demanding deep roots. These crops benefit from the moisture retention that mulch provides and won’t mind if your soil biology is still developing.
Bush beans and peas work beautifully as second plantings. They fix nitrogen in the soil, actually improving your bed while they grow, and their shallow root systems won’t struggle in newly layered beds. Radishes germinate fast and help break up surface compaction naturally as they mature.
For wildlife value, tuck in native pollinator plants around the edges, mountain mint, wild bergamot, or black-eyed Susans. These perennials establish well in undisturbed soil and attract beneficial insects that’ll help manage pests in your vegetable rows.
Avoid heavy feeders like tomatoes and squash in year one. They perform better once your soil food web has had a season to mature. Let the earthworms and microbes do their work first, then expand your plant list as your bed’s biology strengthens.
Maintaining Your No Till Garden Through the Seasons
Once your no till bed is established, seasonal care becomes wonderfully simple, you’re working with nature’s rhythms rather than fighting them. The mid-Atlantic climate offers distinct seasons that each bring their own opportunities to build soil health without ever picking up a shovel.
**Spring: Building Your Growing Foundation**
As temperatures warm in March and April, resist the urge to dig. Instead, pull back any winter mulch to let the soil warm naturally. Add a fresh one- to two-inch layer of finished compost directly on top of your beds, spreading it gently with your hands or a rake. This feeds both your plants and the soil life below without disrupting the beneficial fungi and earthworm networks you’ve worked to establish. If weeds sprout through your mulch, pull them while they’re young and their roots haven’t gone deep, they’ll slide out easily from the soft, crumbly soil structure that no till methods create.
**Year-Round Maintenance Tasks**
- Spring: Apply compost top-dressing and pull early weeds before they set seed
- Summer: Maintain 3-4 inches of mulch to conserve moisture and suppress weeds during heat
- Fall: Add shredded leaves and plant cover crops for winter soil protection
- Winter: Leave crop residues in place to shelter beneficial insects and feed soil organisms
**Summer Through Fall: Protecting and Feeding**
Our humid mid-Atlantic summers demand consistent mulch coverage. Wood chips, straw, or shredded leaves keep soil temperatures stable and moisture levels steady during July and August heat waves. When the mulch layer thins to less than three inches, add more. You’ll know your soil ecosystem is thriving when you see earthworms near the surface even during dry spells.
Come September, layer on those abundant fall leaves, shred them first if you can, but whole leaves work too. Many Arlington gardeners plant a quick cover crop of winter rye or crimson clover in October, which you’ll simply cut down and leave as mulch next spring rather than tilling in. Through winter, resist the impulse to “tidy up” by removing plant debris. Those stems and seed heads shelter native bees and beneficial insects while slowly decomposing to feed your soil through the cold months.
Real Stories from Local No Till Gardeners
Maria Chen started her no till garden three years ago in her Arlington backyard, converting half of her traditional vegetable plot as an experiment. “I was skeptical at first,” she admits. “How could I grow tomatoes without digging? But after reading about the benefits of sustainable gardening I wanted to try something that required less effort and helped wildlife.” Her biggest surprise wasn’t the abundant harvest. It was watching mason bees nest in her garden paths for the first time, something that never happened when she tilled every spring.
James Patterson, an Extension Master Gardener in Alexandria, faced his biggest challenge with perennial weeds in his first season. “The dandelions came up through my cardboard layer where I’d overlapped sheets poorly,” he says. His solution was simple: he added another thick layer of compost directly on top and let it smother the weeds naturally. Within six weeks, the problem resolved itself. Now he tells new gardeners not to panic when a few weeds emerge. They’re easier to pull from soft, undisturbed soil anyway.
The most consistent theme among local no till gardeners is the unexpected joy of less work. Sarah Okonkwo converted her community garden plot to no till methods last year. “I thought I’d miss the ritual of spring tilling,” she says. “Instead, I gained three extra weekends and a garden absolutely teeming with earthworms.” She now spends that saved time sharing her methods with neighboring gardeners, showing them her thriving beds and the wildlife that’s moved in.
Common Questions About No Till Methods
When you’re considering no till gardening, it’s natural to have questions, especially if you’ve spent years believing that turning the soil was the only way to prepare a garden bed. The good news is that most concerns have straightforward solutions once you understand how no till systems work.
Can I convert my existing tilled garden to no till?
Absolutely. You can transition an existing garden simply by stopping the tilling and adding a thick layer of compost and mulch to the surface. Your soil structure will improve over one to two growing seasons.
What if my soil is really compacted?
No till methods actually help break up compaction over time through deep-rooted cover crops and increased earthworm activity. Start with a cardboard layer and generous compost, then let the soil organisms do the work.
How do I deal with persistent weeds like bindweed or bermudagrass?
Use thick cardboard or several layers of newspaper as a weed barrier, topped with at least four inches of compost. Most perennial weeds can’t push through this barrier, and any that do are much easier to pull from loose compost than from compacted soil.
How long before I see results?
You can plant and harvest successfully in your first season. However, the deeper soil health benefits develop over two to three years as earthworm populations increase and organic matter accumulates.
Another question that comes up frequently is whether no till works in small spaces. It’s actually ideal for raised beds and compact gardens because you’re building up rather than digging down. Container gardeners already practice a form of no till without realizing it.
Some gardeners worry they won’t get the same yields without turning the soil each spring. Local Master Gardeners who’ve made the switch report that after an adjustment period, their harvests actually improve because the soil stays healthier and retains moisture more effectively. The key is patience during that first season while your garden ecosystem establishes itself.
If you’re transitioning mid-season rather than in fall or early spring, that works too. You’ll just need to be more generous with compost and water as plants establish in a system that’s still developing its structure. The beauty of no till is its flexibility. There’s no single right way to start, and small experiments in one bed can teach you what works best for your specific garden conditions.
Starting a no till garden is one of the most rewarding shifts you can make for both your soil and the wildlife that depends on it. You don’t need to convert your entire yard overnight, begin with a single bed using the cardboard and compost method, and watch what happens. Within weeks, you’ll spot more earthworms. By next season, you’ll notice ground-nesting bees and the quiet hum of a healthier ecosystem taking root beneath your feet.
The Extension Master Gardeners of Arlington-Alexandria are here to support you every step of the way. Our workshops and volunteer days offer hands-on learning alongside experienced gardeners who’ve navigated the same questions you’re facing now. Whether you’re troubleshooting compacted soil or choosing your first no till crops, you’ll find a community ready to share what works.
This isn’t just about growing vegetables. It’s about rebuilding the living foundation our local wildlife needs to thrive. Your garden can be part of that change, one undisturbed layer at a time.